How to Freeze Low-Histamine Food Without Ruining Texture

Last updated: November 01, 2026
Quick answer: Freeze low-histamine food in meal-size portions, after it has cooled, in freezer-safe bags or rigid containers that fit the food. That is the fastest route to better texture, fewer ice crystals, and less waste. This guide on How to Freeze Low-Histamine Food Without Ruining Texture focuses on the parts of freezing that most affect broth, rice, and cooked vegetables.
Freezing low-histamine food works best when you move fast, portion it small, and choose the right container for the food’s shape and moisture. The goal is not just safety; it is keeping the food from turning into soggy rice, icy broth, or mealy vegetables after thawing. The USDA says frozen food kept at 0°F (-18°C) stays safe indefinitely, but quality declines over time.
If you need a single rule to follow, use this one: freeze food as soon as it has cooled, in freezer portions sized for one meal, in air-tight freezer bags or rigid containers that match the food. That is the simplest way to protect texture without turning the freezer into a dumping ground.
Key takeaways
- Freeze low-histamine food in meal-size portions so you only thaw what you will use.
- Cool cooked food before freezing so steam does not become ice crystals and soggy surfaces.
- Use freezer bags for flat, space-saving packs and rigid containers for broth, rice, and saucy foods.
- Freeze foods that stay structurally sound after thawing, such as broth, cooked rice, and many cooked vegetables.
- Thaw in the fridge or in a cold-water setup, not on the counter.
- The best freezer plan is the one that gives you the shortest path from freezer to pan or bowl.
What to freeze first if you are building a low-histamine freezer
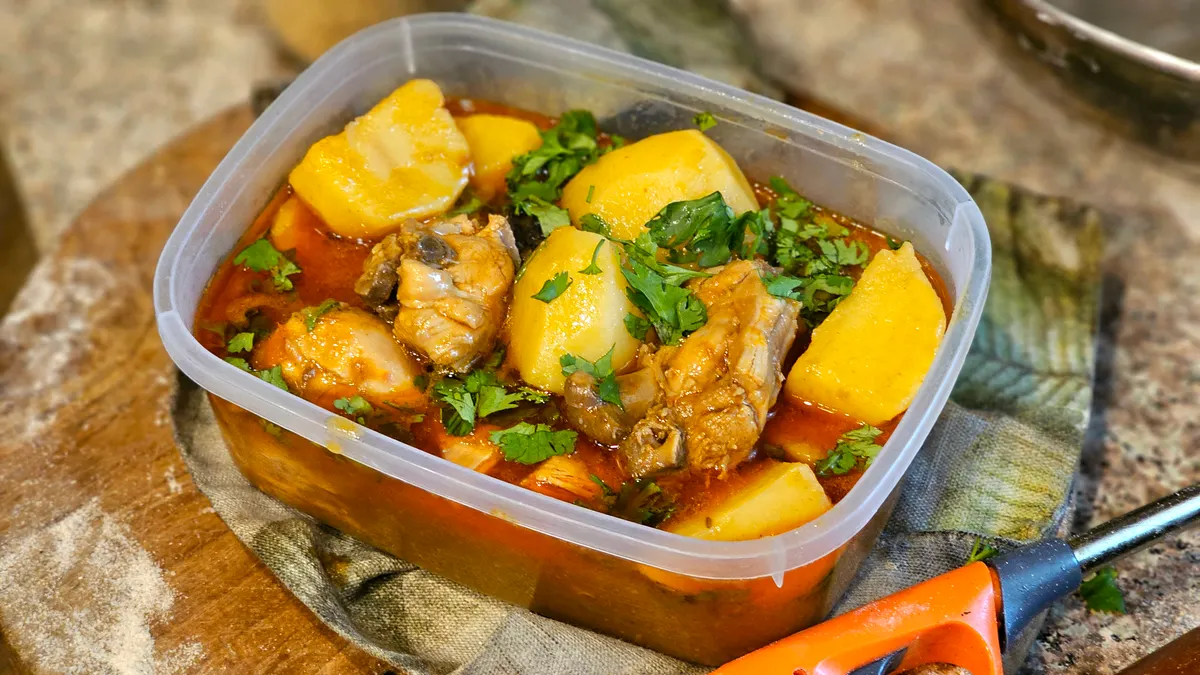
Start with foods that freeze cleanly: broth, cooked rice, and cooked vegetables that are still firm. These hold up better than creamy sauces, raw salads, or anything already soft and watery. A stocky carrot cube or a plain rice portion is easier to thaw well than a dish that depends on crisp edges or a fresh finish.
This article on How to Freeze Low-Histamine Food Without Ruining Texture is about freezing food, not stretching storage time in the fridge, so the best candidates are the ones you can move straight into the freezer after cooking and cooling. Broth freezes well in 1-cup or 2-cup portions. Rice does better in flat, sealed bags or shallow containers than in a deep pile. Cooked vegetables freeze best when they are still slightly underdone, because the freezer softens them a little.
Do not freeze foods just because they are low histamine in theory. Texture matters. Cucumbers, lettuce, and other watery foods are poor choices because the ice crystals destroy their structure. The same goes for dishes with a lot of starch and no liquid support unless you expect a softer result after thawing.
A simple way to choose is to ask: will this still be pleasant if it is a bit softer, wetter, or less crisp? If the answer is yes, it is probably freezer-friendly. If the whole dish depends on crunch or freshness, freeze the components separately instead of freezing the finished plate.
1. Cool the food before it goes into the freezer
Cool it until it is no longer steaming hot, then pack it for the freezer. That step protects texture because trapped steam turns into frost and extra water inside the package.
Use shallow pans, a wide plate, or small containers so the food loses heat quickly. A 2-inch layer of soup cools much faster than a deep pot, and a thin layer of rice sheds heat before it clumps into one cold block. You do not need to leave food out until it is cold all the way through; you need it to stop sending up steam before sealing.
The mistake to avoid is freezing a hot container straight from the stove. That creates condensation inside the package, which leads to ice crystals and a watery thaw. It can also warm nearby items in the freezer. The better move is to portion the food first, spread it thin if possible, and let it release heat for a short time before freezing. For a small batch, that may be 20 to 30 minutes. For a large pot, it may take longer.
When the food is ready, the surface should look dry rather than glossy with steam. A spoon dragged through rice should not collapse into a wet mass. Broth should be warm, not actively bubbling, before you seal it in a freezer container. That is the point where the package freezes cleaner and the food keeps a more normal shape.
2. Pack freezer portions that thaw well
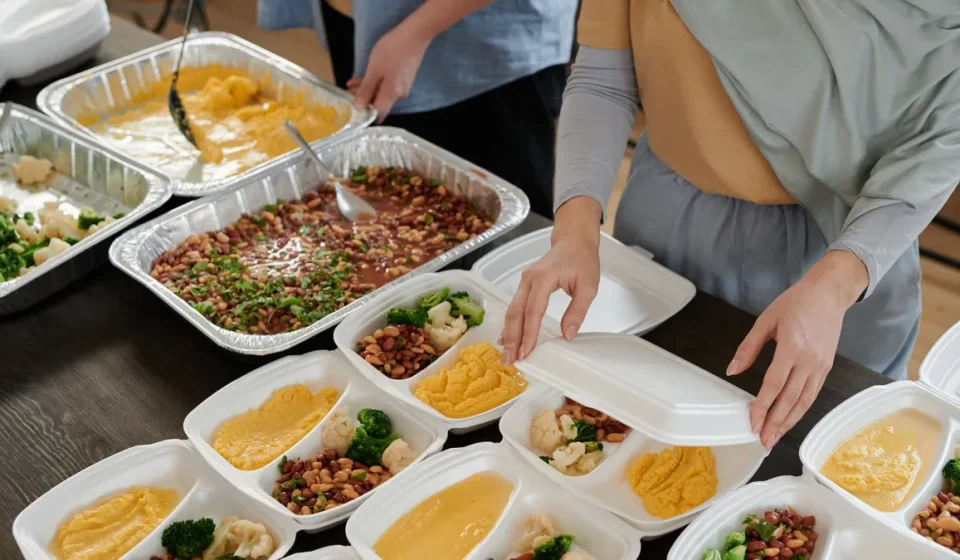
Pack food in portions you will use in one sitting, then flatten or shape those portions so they freeze fast. Smaller portions freeze faster, and faster freezing usually gives a better texture.
Use freezer bags for foods that benefit from a thin profile. A 1-quart freezer bag of rice or cooked vegetables can be pressed flat, stacked, and defrosted more evenly than a deep plastic tub. For broth, use rigid containers with tight lids, leaving a little headspace so the liquid can expand as it freezes. For rice, a shallow container or flat bag helps keep the grains from compacting into a dense brick. For cooked vegetables, a single-layer pack is kinder than one stuffed full.
Label each portion with the food name and date. You do not need a complicated inventory system; you need to know what is in the bag when the freezer is full and everything looks the same. A strip of masking tape and a marker are enough.
The trade-off is that small portions take a little more time to pack. That is worth it. A family-size block of soup may be convenient to store, but it is awkward to thaw partly and hard to portion cleanly. A freezer built around 1-serving or 2-serving packs gives you more control and less waste.
If you want a workable rule, think in meal units: 1 cup of broth, 1 to 2 cups of rice, or enough cooked vegetables for one bowl. That size usually thaws faster and keeps better than a giant container you have to chip at.
3. Choose freezer containers that protect texture
Choose the container that matches the food’s moisture level and shape. That choice matters more than the brand name on the lid.
For broth, use rigid, freezer-safe containers with a tight seal. Glass freezer containers can work if they are made for freezing and have headspace, but a crack-prone jar is a poor gamble. Plastic containers designed for the freezer are easier to stack and less likely to break. Broth needs space to expand, so do not fill the container to the rim.
For rice and cooked vegetables, freezer bags are often a strong option because they push air out and let the food freeze in a thin layer. Less trapped air means less freezer burn and less ice buildup on the surface. Press the bag flat before sealing it. A thin pack thaws more evenly than a thick lump in the middle of a tub.
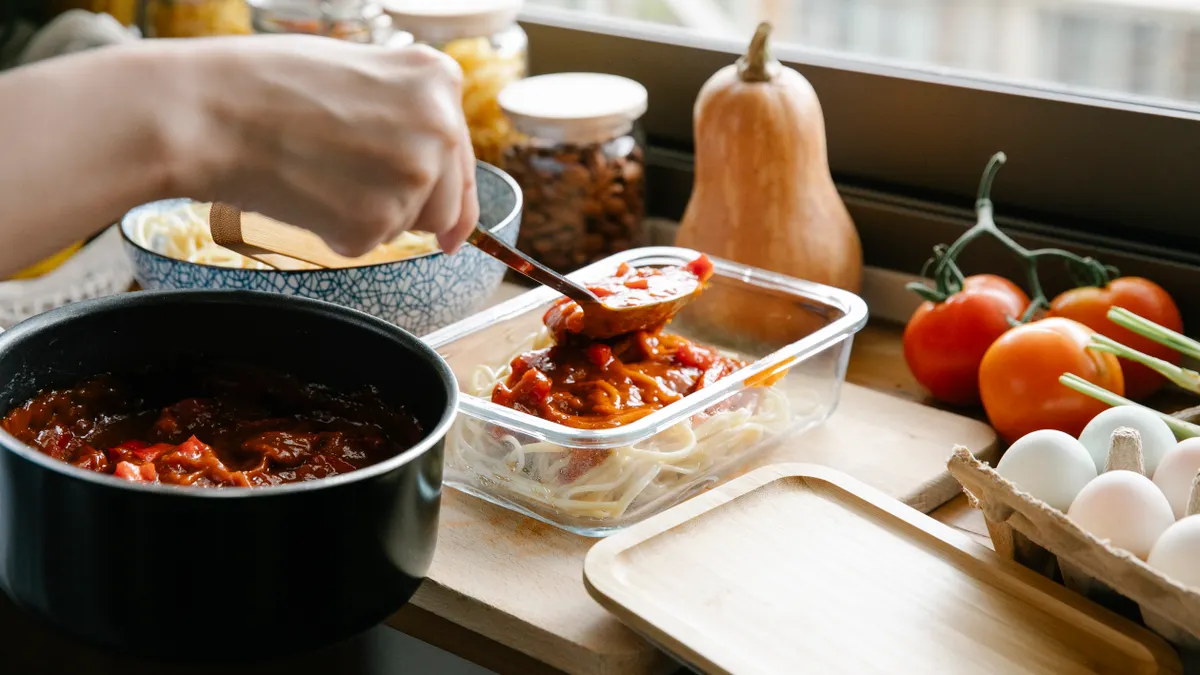
For mixed dishes, containers win when the food has a sauce or delicate pieces that would get crushed in a bag. A shallow, rigid container can help keep shapes intact and reduce leaking. If the food is especially soft, place a small sheet of parchment between layers so the pieces do not weld together in one block. If you are unsure about a container’s safety for freezing, check the manufacturer’s guidance or ask a food-safety professional.
Avoid flimsy takeout containers for long freezer storage unless they are the only option and you expect a short hold. Their lids often leak air, and that dries out the food. The result is usually duller texture and more frost on the surface. If a lid does not close cleanly, do not trust it with broth or moist rice.
The right container is the one that seals well, stacks cleanly, and leaves the food in a shape you can thaw without fighting it.
How to freeze low-histamine food without turning it mushy
Freeze the food quickly, in a thin layer, and with as little air around it as possible. That combination gives strong odds of keeping rice separate, vegetables recognizable, and broth clean-tasting.
Here is the basic sequence:
-
Cook or finish the food, then let it cool until it stops steaming.
The surface should no longer look wet with heat. If you can hold the container comfortably, it is ready for packing. -
Portion the food into the amount you will use later.
A 1-cup or 2-cup portion is easier to thaw than a bulk block. You should be able to grab one package and know it is enough for a meal. -
Put the food into the right container.
Use freezer bags for rice or vegetables and rigid containers for broth or saucier dishes. Leave headspace in liquids so expansion does not force the lid open. -
Remove extra air and seal tightly.
Press air out of bags before closing them. A tight seal reduces frost and helps the food keep a fresher surface. -
Flatten or level the package before freezing.
A flat bag freezes faster than a rounded pouch. You should end up with a thin, even shape that stacks easily. -
Place the package in the coldest, most open part of the freezer.
Do not bury it under heavy items while it is still soft. Good airflow around the package helps it freeze faster and more evenly. -
Thaw only what you need.
A package that is thawed once and used right away keeps better texture than one that is partially thawed, refrozen, and thawed again.
That process is especially useful for low-histamine cooking because it cuts down on lingering food and repeated handling. A bowl of firm rice or a clean portion of broth is much easier to turn into a meal than a freezer block that has been thawed and re-frozen two or three times.
5. Defrost in a way that preserves both safety and texture
Defrost food in the fridge whenever you can, because that gives the most even thaw and usually the best texture. A cold, slow thaw keeps broth from separating too abruptly and keeps rice from turning patchy and wet.
For small portions, the fridge is the easiest choice. Put the frozen package in a dish to catch condensation, and let it thaw overnight or until flexible. A flat bag of cooked rice thaws faster than a thick container of the same amount, so shape matters here too. Broth in a sealed container usually needs longer than a thin bag of vegetables.
If you need food faster, use cold water while the food stays sealed in a leakproof bag or container designed for that purpose. Change the water as needed so it stays cold. Do not leave food on the counter to thaw for hours. That softens the outside long before the center thaws and gives you a rubbery edge with an icy middle.
Once thawed, heat only the amount you plan to eat. Reheating the entire package, then cooling and reheating it again, is rough on texture. Rice is the clearest example: one clean reheat works better than several. Cooked vegetables also lose structure fast if they are heated too many times.
If you are handling a low-histamine diet and also need to think about food safety, a fridge thaw is the safest default. If a package smells off, leaks badly, or has a strange surface after thawing, do not try to rescue it with sauce or seasoning. The FDA’s food-safety guidance treats any doubt as a reason to discard it.
Common freezing mistakes that ruin low-histamine texture
The biggest mistake is freezing food in one large lump. That costs you even thawing and turns many foods into an uneven mix of cold centers and soft edges. The fix is simple: divide food into 1-meal portions before freezing.
Another mistake is using the wrong container for the food. Broth in an overfilled plastic tub can leak or expand badly. Rice in a deep container tends to freeze into a dense mass. The fix is to match the container to the food: bags for flat packs, rigid containers for liquids.
A third mistake is leaving too much air in the package. Air speeds up freezer burn, which dries the food and dulls the texture. Press air out of bags and seal lids firmly.
A fourth mistake is freezing food after it has sat around hot and uncovered for too long. That does not just affect texture; it also leaves the food in a poor state before it ever enters the freezer. The fix is to cool promptly, portion promptly, and freeze promptly once steam has stopped.
A fifth mistake is expecting every low-histamine food to freeze well. That is simply not true. Watery vegetables, fresh herbs used as garnish, and crunchy toppings are poor candidates. Freeze the stable base, then add the fresh finish after thawing.
The right mindset is practical, not perfect. Freeze the parts of the meal that survive freezing well, and skip the parts that do not. That is usually the difference between a freezer that helps and a freezer that disappoints.
For broader guidance on handling and storage in a low-histamine kitchen, the hub on low-histamine cooking, storage, and food handling can sit beside this process.
Can you freeze low-histamine food?
Yes, you can freeze low-histamine food, and freezing is often one of the best ways to keep cooked food from sitting around too long. Broth, cooked rice, and many cooked vegetables freeze well when cooled first and packed in small portions. Food that depends on crispness or freshness usually suffers more.
What is the best way to freeze cooked food?
The best way to freeze cooked food is to cool it first, divide it into meal-size portions, and pack it in a freezer bag or rigid container that suits the food. Thin, flat packages freeze faster than deep ones, so they usually keep a better texture. Leave headspace for liquids like broth.
How do you defrost food safely on a low-histamine diet?
Defrost food safely by thawing it in the fridge whenever possible, or in cold water if you need it sooner and the package is sealed properly. Keep it off the counter for long thawing periods. Once thawed, heat only what you plan to eat so the texture stays steadier and the food is not repeatedly warmed.
Drafted with AI; not yet reviewed by a person.